So we're at the 2 month mark for us to meet Liam's little brother! I know, it's nuts. I actually think we're a little inside the 2 month mark personally - Liam was 2 weeks early to the day and it wouldn't surprise me at all if baby brother follows suit. The official due date is August 17, so I'm planning on August 3-ish. It is really insane how fast the time has gone, although I'm not sure Kristen would entirely agree with me. This go-round has been a little rougher than the first, but she's been a real trooper, and looks amazing to boot!
I find it really interesting to see how I'm affected by the impending arrival of a new baby. You hear about women getting a strong nesting instinct - I definitely get my own version of that, in the form of home improvement projects. I've been knocking out a ton of them in the last few months, partly from this nesting instinct, and partly because I know I won't be able to work on any for a while once bambino numero dos gets here. What projects have I worked on? I thought you'd never ask.
Back Porch Expansion (a.k.a. Defeat the Swamp)
Our house sits about halfway down a slight hill, with the highest point behind our rear fence, sloping down continuously to the front of the property. The grading of the ground around the back porch was never perfect, so every time it rains the water backs up from the fence, around the porch, back into the yard. Between that and our dogs trampling the area, the grass never really grew too well, and it was a super swamp every time it rained. We had put a small pad of pavers right inside the fence a few years ago, so I came up with a plan to extend the pavers in the area, and in the process hopefully fix the grade as well. Here's a few before shots:


As you can see I had my best helper ready to work too! Liam and I ran to Lowe's and picked up all our supplies. That's around 400 pavers if you're wondering.

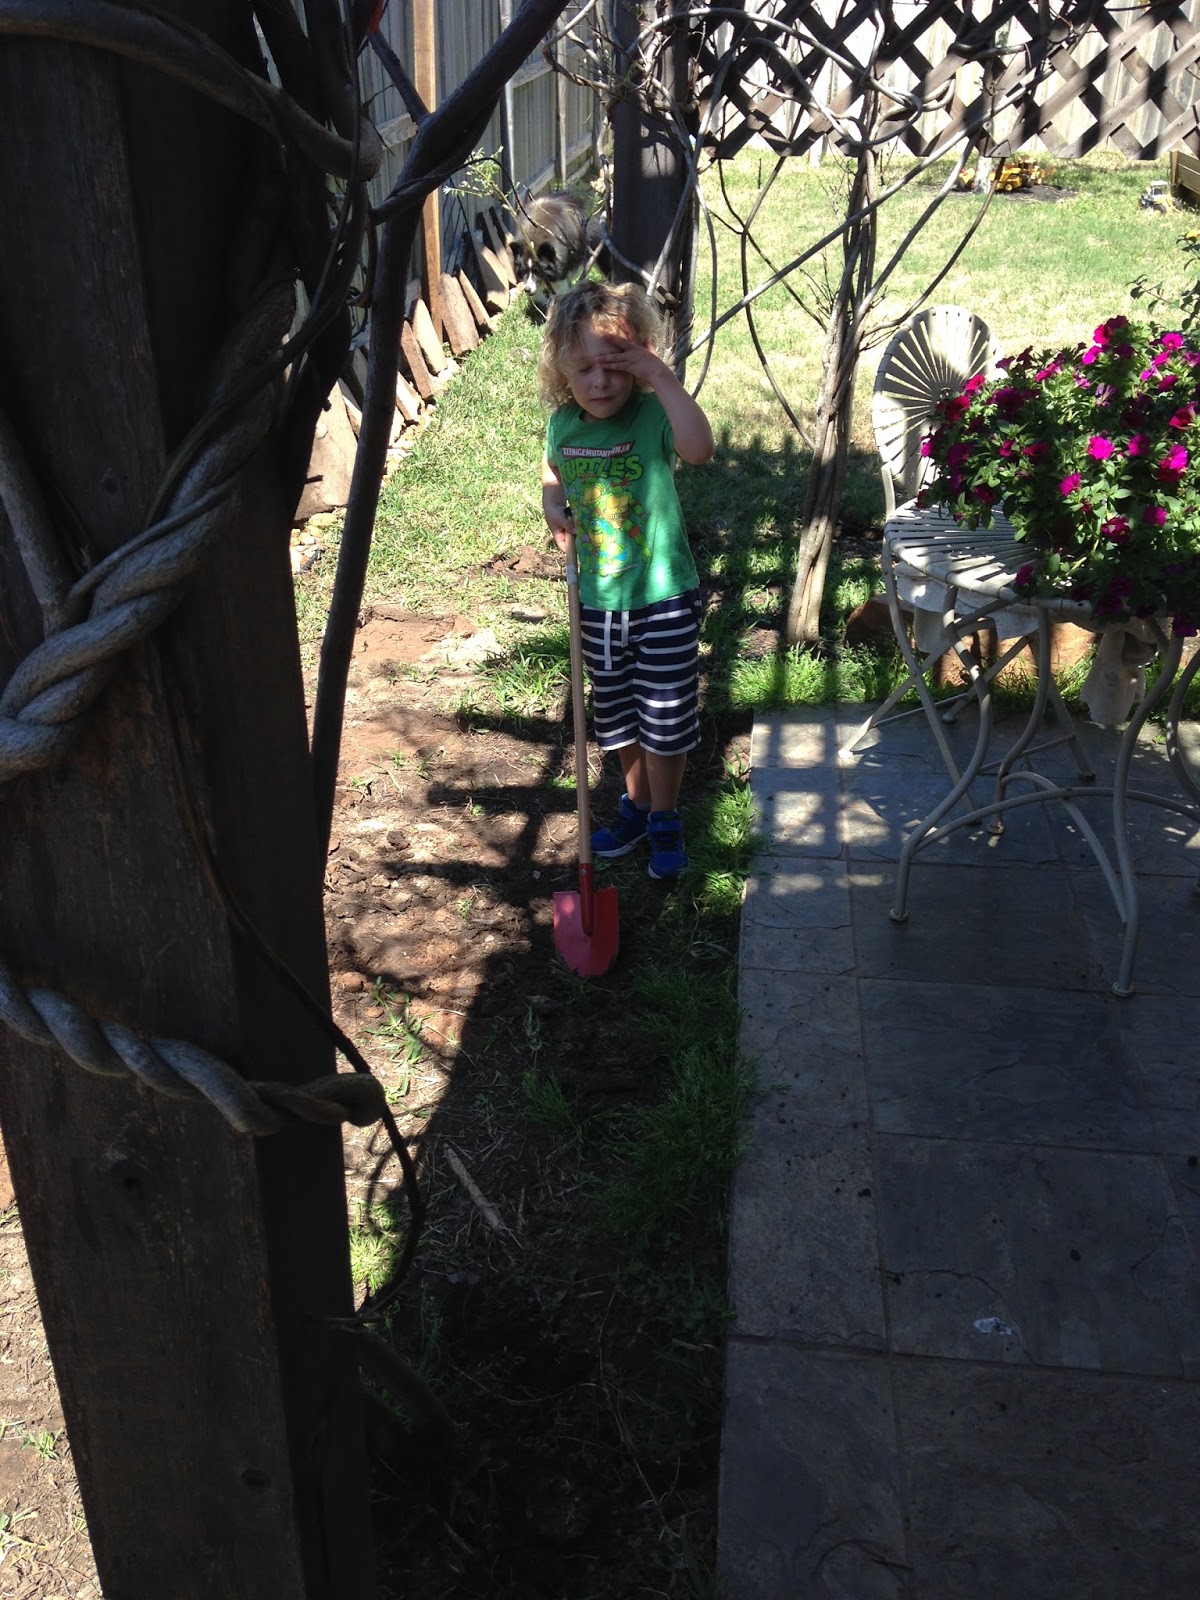
Once an engineer, always an engineer. Can't do this without some kind of plan.

Time to dig! We had to remove all the grass (don't want that pesky stuff growing up under our pavers) and then remove a fair bit of the native clay to get the grade right. Digging is hard work!

Finally we had everything cleared out, ready for the next steps: putting down a layer of top soil, followed by a layer of paver sand. Aunt Hannie was over and snapped some pics of Liam helping me tamp down the soil and sand - I absolutely love Liam's stomping.


Fast forward a solid 20 or so man hours and a lot of sweat, and my base is finally ready for pavers!


So here we go, paver setting time. Compared to getting the area ready, this part went ridiculously quick - I had all the non-cut stones down in about 2 hours.

Now the fun part - cutting all the pavers to go on the edges! I realize now that I didn't get a good photo of my little tile saw - I bought a little wet tile saw from Lowe's for around $80. I've gotta say, that little dude was a beast - I ended up doing probably 60 or so cuts and it didn't miss a beat (though I did chew up a few blades). So once I got all the edge pavers cut and placed, I filled in with this cooler polymer sand I discovered a few years ago. It's kind of like concrete or mortar but better for this type of application, I think. As the name implies, it's sand mixed with some kind of water-setting polymer. All you do is sweep it in and wet it, and it sets rigidly in around 24 hours. The cool thing is that it doesn't expand much (unlike concrete), and it's also porous, which is really nice because the water can seep through for drainage rather than just sheet off completely. So, the final result:

Well, almost final. I was super happy with the way this turned out, but you can see that the ground right in front of the edge is still really low. So I got even more top soil and some sod and spent a Saturday fixing the grade and laying sod.

That sod might look rough there, but it blended in really quickly (all the crazy rain we got helped quite a bit). That was fun - on to the next project!!
Liam's Chalkboard
Kristen found the inspiration for this one - we wanted to build a magnetic chalkboard for Liam's newly designed big boy room. I knew about chalkboard paint, but she also found magnetic paint (seriously). This stuff is so cool - you just roll it on like any other paint, and makes the surface magnetic. The quart can of this was about 2-3 times as heavy as a regular quart paint can, I figure this stuff has tons of magnetized iron filings in suspension or something.
I didn't really get too many photos of construction, mainly because there really wasn't all that much to it. I cut a big sheet of plywood for the main board, put about 5 thin coats of magnetic paint on it, followed by a coat or two of chalkboard paint.

Liam got really excited about the nitrile gloves I bought for this one :)

Then I just cut, sanded, and painted some 1x6's for the frame, screwed them on, and voila! Chalkboard fun begin!


Closet Shelf Expansion
Ok, so this won't be exciting to anyone besides Kristen and me, but it was still fun. We're always in need of more storage (who isn't, right?), so I decided to put in another shelf at the top of our overly tall closet. There was one shelf already there, but quite a bit of room above that:


A lot of cutting, sanding, routing, and painting later, and I'm ready to install the new shelves. By the way, there is nothing that can beat a good pneumatic nail gun for this kind of work. It is just silly how easy and fun it is to install shelves with a good nail gun. After install, spackle, and touch up:


It's really funny how it works, but having that extra shelf way up high actually makes the closet seem a ton taller when you're standing in it. Go figure.
Bedroom Crown Molding (a.k.a. I Hate Wavy Ceiling Lines)
I had successfully installed crown molding in our small office and Liam's new bedroom, so I figured tackling crown in our bedroom would be no problem. I was about half right. Installing crown would be about a thousand times easier if walls and ceilings were as straight in the real world as they are in my head. I put the first piece of crown up against the ceiling and realized that the deceptively straight looking ceiling was in fact unbelievably wavy. But no matter, I still prevailed (no mere ceiling will defeat me!).
I'm technically not still done with this one - I just finished installing the crown today, and still need to fill in all the nail holes and touch up paint. But here's a shot of part of it:

This project could have also been called Vaulted Ceilings are Ridiculous. The double transition in ceiling and wall angle here is pretty ridiculously hard to get right, and I don't mind saying that I'm pretty damn proud of how it turned out:

And Some Random Adorable Photos
Ok, ok, everyone's tired of project photos. Here are a random sampling of some of my favorite from the last few months.


