Lately I've been having a ball working on some various construction / home improvement projects, so I thought I'd share for those who haven't seen. Those of you with the handyman bent should especially appreciate these I think. First, the flowerbox.
 I'd had the itch to do some kind of fun woodworking project for a while, and this is the one that won out. As you walk up to our front door, there's this ledge that screamed out to me to use. It's about 4 feet high and 6 feet long, I thought "perfect for a nice cedar flowerbox".
 So off to our friendly neighborhood McCoy's I went and got all the material. I decided to use rough cut cedar - I love the way good cedar looks, it holds up ridiculously well in outside weather conditions, and it's not crazy expensive. Plus if you seal it (which I did, you'll see later) it has a beautiful natural color I love. As you can see it wasn't a huge amount of material - mostly 1x4's with a few 2x2's for internal support and 1x2's for finishing.
Now the fun really begins! I had a blast staying up late in the garage working on this one. A few shots of the work in progress.


 After a few days' work I had the box construction complete, and started on the sealing. I went with a clear seal to show off the natural color and tone of the cedar - you can see how dramatic the difference is on the sealed vs. the non-sealed section even with a clear sealant.
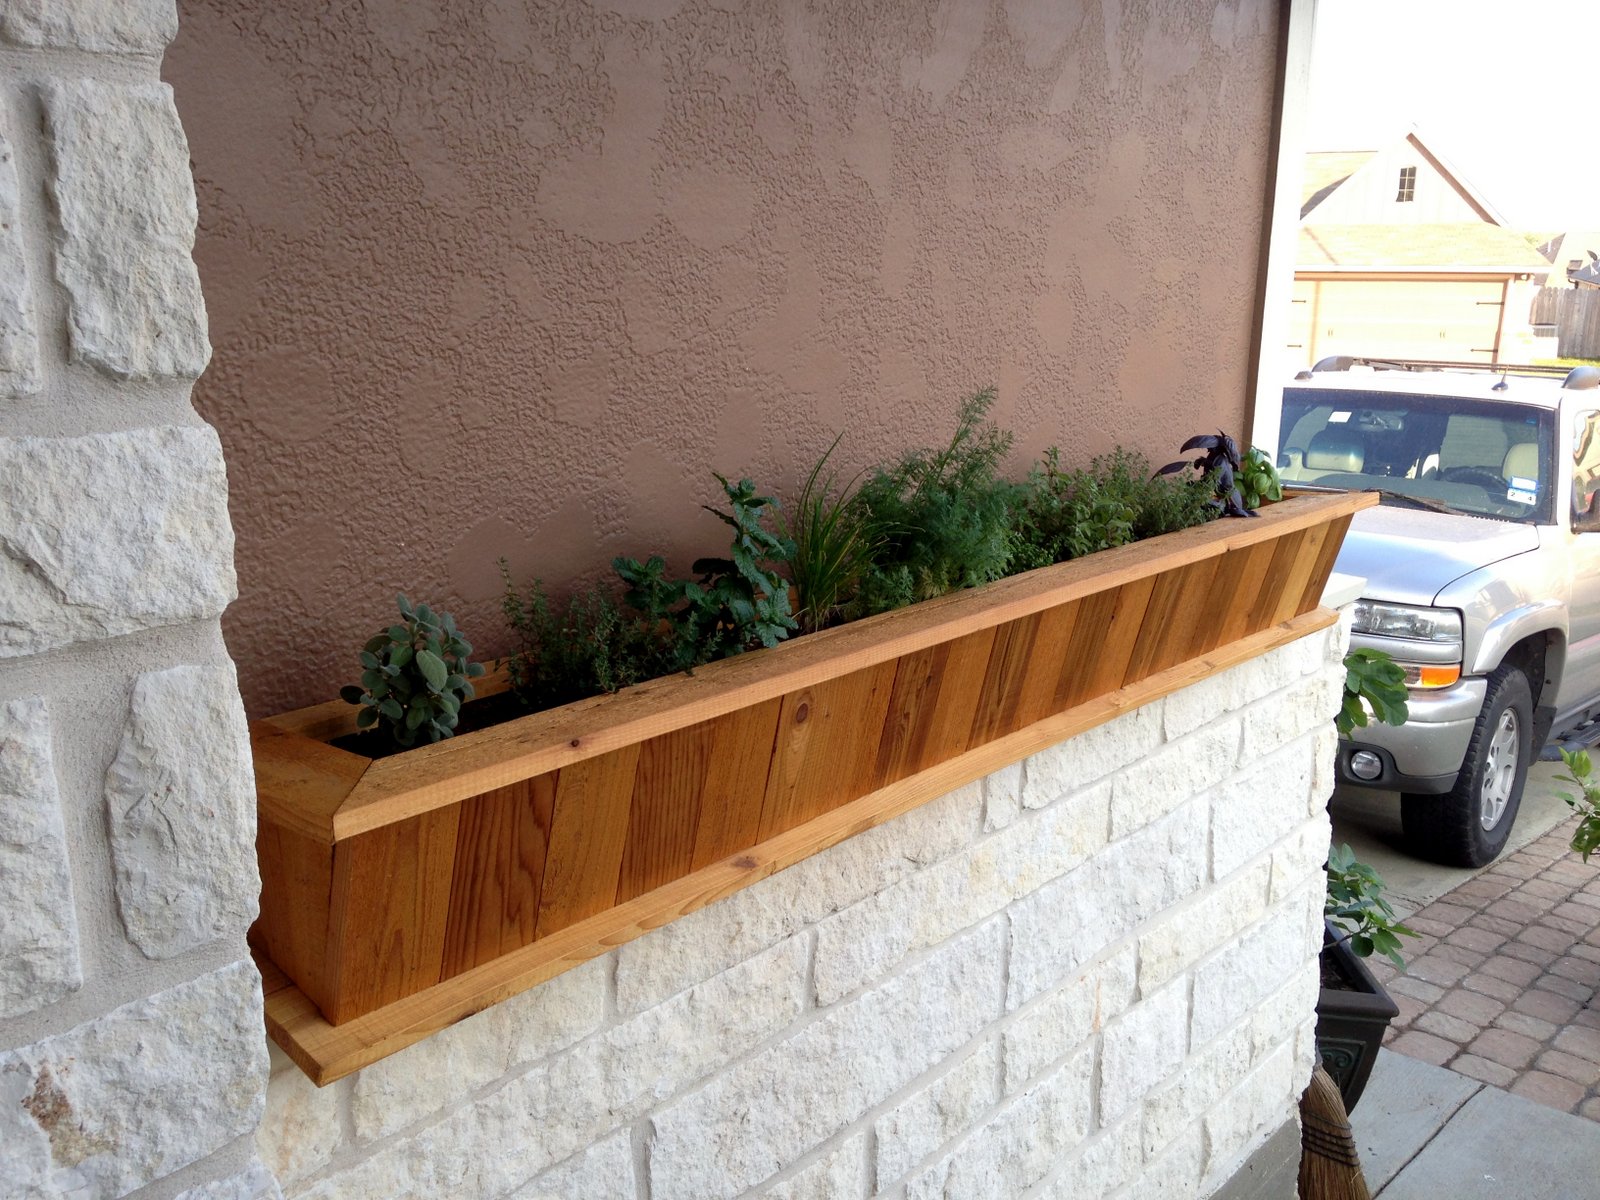
Then I just had to let it dry overnight, put it up on the ledge and secure it to a few studs, and voila!! I'm really happy the way it turned out.
Here's a quick before and after to show the difference:


And of course, what would a flower box be without any plants? Kristen is the expert there, she picked out all these awesome herbs and got them planted well. Now we just go cut some fresh herbs whenever we're cooking!
Stay tuned for more posts, we've been tackling a raised bed garden lately...
No comments:
Post a Comment
If you comment anonymously I'd love it if you left your name!